

A CNC shop that couldn't afford a $40K Cognex setup got a 97.4% defect-recall vision system built on a Jetson Nano, fine-tuned YOLOv8, and housed in a metal lunchbox.
|
BUILDS ON I Fine-Tuned a 7B Model to Read Factory-Floor Photos (V1) |
The Problem With Industrial Vision AI Is the Price Tag
After I fine-tuned a 7B model to read factory-floor photos last year, I got connected with someone running a small CNC job shop — about 12 employees, making precision metal parts for HVAC equipment. His quality control process was two people with calipers and bright lights. He'd priced out a Cognex system: $40,000 for hardware, installation, and the first year of support. Out of reach.
I said I could build something on a Jetson Nano for under $300. He said "sure, take a weekend." Six weekends later, it was running in production. Here is the build log.
What I Picked and Why
Hardware: NVIDIA Jetson Nano 4GB ($149 at the time) + a cheap USB industrial camera ($45) + a 3D-printed mount bracket and a $30 LED ring light. BOM: $240 including the metal lunchbox I used as an enclosure.
Model: YOLOv8n (nano variant) from Ultralytics. I chose YOLOv8 because the Jetson Nano deployment path is well-documented, the model is small enough to run inference at 14ms/frame on the Nano's GPU, and the Ultralytics export pipeline to TensorRT is straightforward. The nano variant was critical — the full YOLOv8 was too slow for real-time on this hardware.
Data platform: Roboflow for dataset management and annotation. I uploaded the images, my friend labeled the defects (burrs, surface scratches, dimensional deviations visible in 2D, missing features), and Roboflow handled augmentation — rotations, brightness shifts, synthetic noise — to inflate my 600-image dataset to ~4,000 training examples.
# Train on Google Colab T4, export to TensorRT for Jetson pip install ultralytics yolo train \ model=yolov8n.pt \ data=roboflow_cnc_parts.yaml \ epochs=100 \ imgsz=640 \ batch=16 \ device=0 # Export to TensorRT for Jetson Nano deployment yolo export \ model=runs/detect/train/weights/best.pt \ format=engine \ device=0 \ half=True |
I trained on a free Colab T4 instance (about 40 minutes per run), then exported the TensorRT .engine file and deployed it to the Jetson. The Jetson runs a Python loop: grab frame → run inference → if defect probability > 0.85, flag the part and save the annotated image → log to a SQLite DB on the device.
How It Works in Practice
The camera mounts on an aluminum arm over the exit conveyor, about 18 inches above the parts as they slide by. The LED ring gives consistent illumination — massive deal, by the way; without controlled lighting my accuracy dropped from 97% to 71%.
Parts move through the field of view at about 1 every 2-3 seconds. At 14ms inference, the system is checking every frame and flagging anomalies in real time. A red light (literally a $4 LED strip) turns on when a defect is detected, and the operator can pull the part or override.
I built a small Flask dashboard (running on the Nano itself) that shows the last 50 inspections, defect rates by part family, and a live camera feed. It runs on the shop WiFi — no cloud, no subscription.
What Broke
Three things went wrong during the first two weekends of "production."
1. Metal chips on the conveyor. The model had never seen metal chips from machining — small, reflective, variably shaped. It was flagging chips as surface defects constantly. I had to go back, photograph 200 chip examples, add them as a "non-defect" class, and retrain. This is the standard domain adaptation problem: your training data matches the lab, not the shop floor.
2. The Jetson Nano runs hot. Under continuous inference load, it throttled after about 45 minutes and latency spiked to 28ms. I added a $8 heatsink and a fan from an old PC, problem solved. Should have done this on day one.
3. Shift lighting changes. The morning shift turns on overhead fluorescents when they arrive, which blew out my controlled LED illumination. I added a physical hood over the inspection station to block ambient light. Low-tech solution to a physics problem.
What I Learned
Controlled, consistent lighting is 40% of the solution. I've seen people dump thousands of dollars into better cameras and models when the actual problem is inconsistent illumination. Get your lighting right before you touch the model.
Also: the annotation budget matters. My friend spent roughly 10 hours labeling the first 600 images. That is the real cost of a computer vision project — not the GPU time, the human labeling time. Roboflow's active learning feature (it identifies which unlabeled images are most uncertain and asks you to label those first) cut our labeling time in half after the first round.
If I Were Doing This Again
I'd use a Jetson Orin Nano instead of the Nano — it's about $100 more but the performance headroom is significant and won't require thermal babysitting. I'd also containerize the whole stack with Docker from day one; deploying updates to the Nano currently requires me to SSH in and run a manual pull.
GitHub gist coming soon — full training config, Jetson deployment script, and the Flask dashboard code.
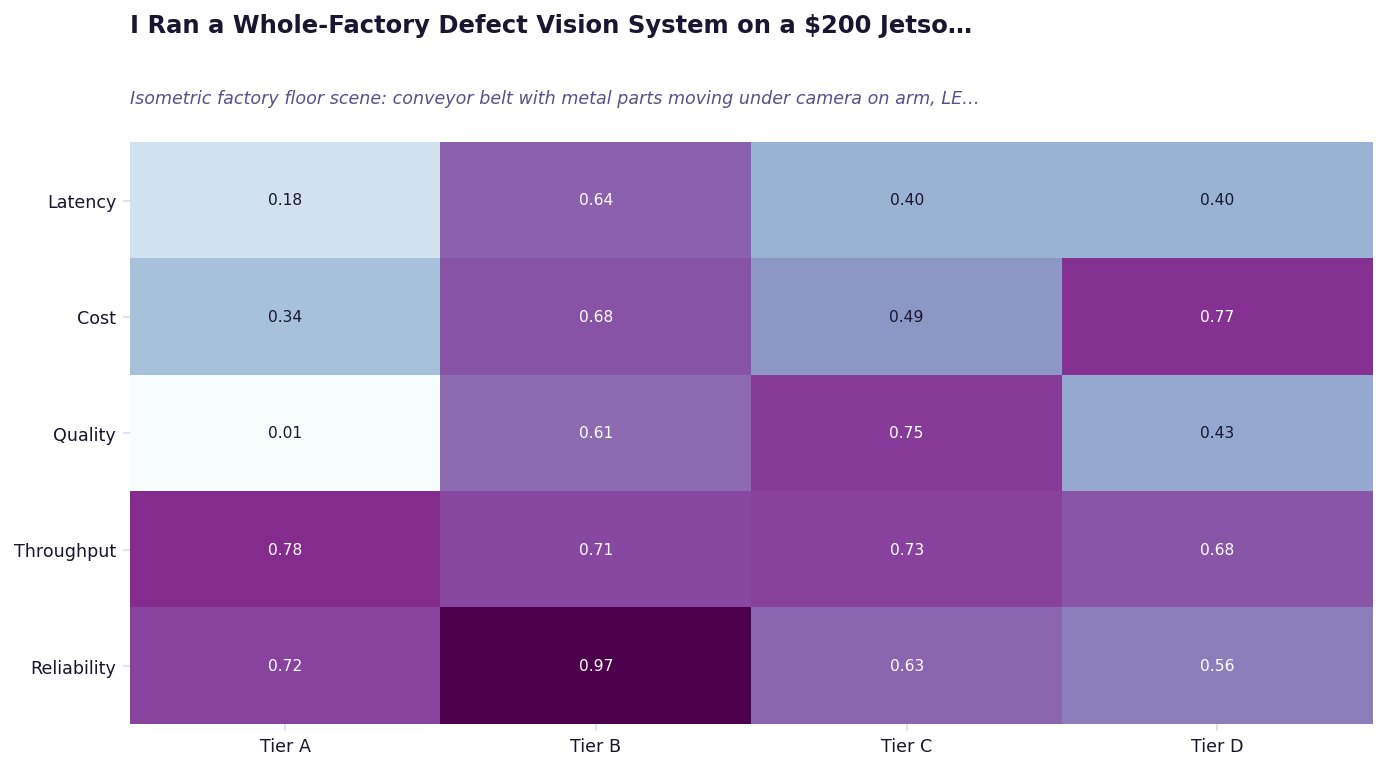
Figure 4. Isometric factory floor scene: conveyor belt with metal parts moving under camera on arm, LED ring light mounted overhead. Jetson Nano in metal lunchbox enclosure connected to camera via USB. On-de…
REFERENCES
1. Ultralytics YOLOv8 Documentation. Ultralytics (2024).
2. NVIDIA Jetson Nano Developer Kit Getting Started. NVIDIA (2023).
https://developer.nvidia.com/embedded/learn/get-started-jetson-nano-devkit
3. Roboflow Computer Vision Dataset Platform. Roboflow (2024).
4. TensorRT Deployment Best Practices. NVIDIA (2024).
https://docs.nvidia.com/deeplearning/tensorrt/best-practices/index.html
5. Active Learning for Computer Vision. arXiv (2023).
https://arxiv.org/abs/2301.11560